September 29, 2020
As an aspiring homebrewer, I have a very rudimentary understanding of fermentation which I will try and document here.
It's helpful, but not necessary, to have some special-purpose equipment:
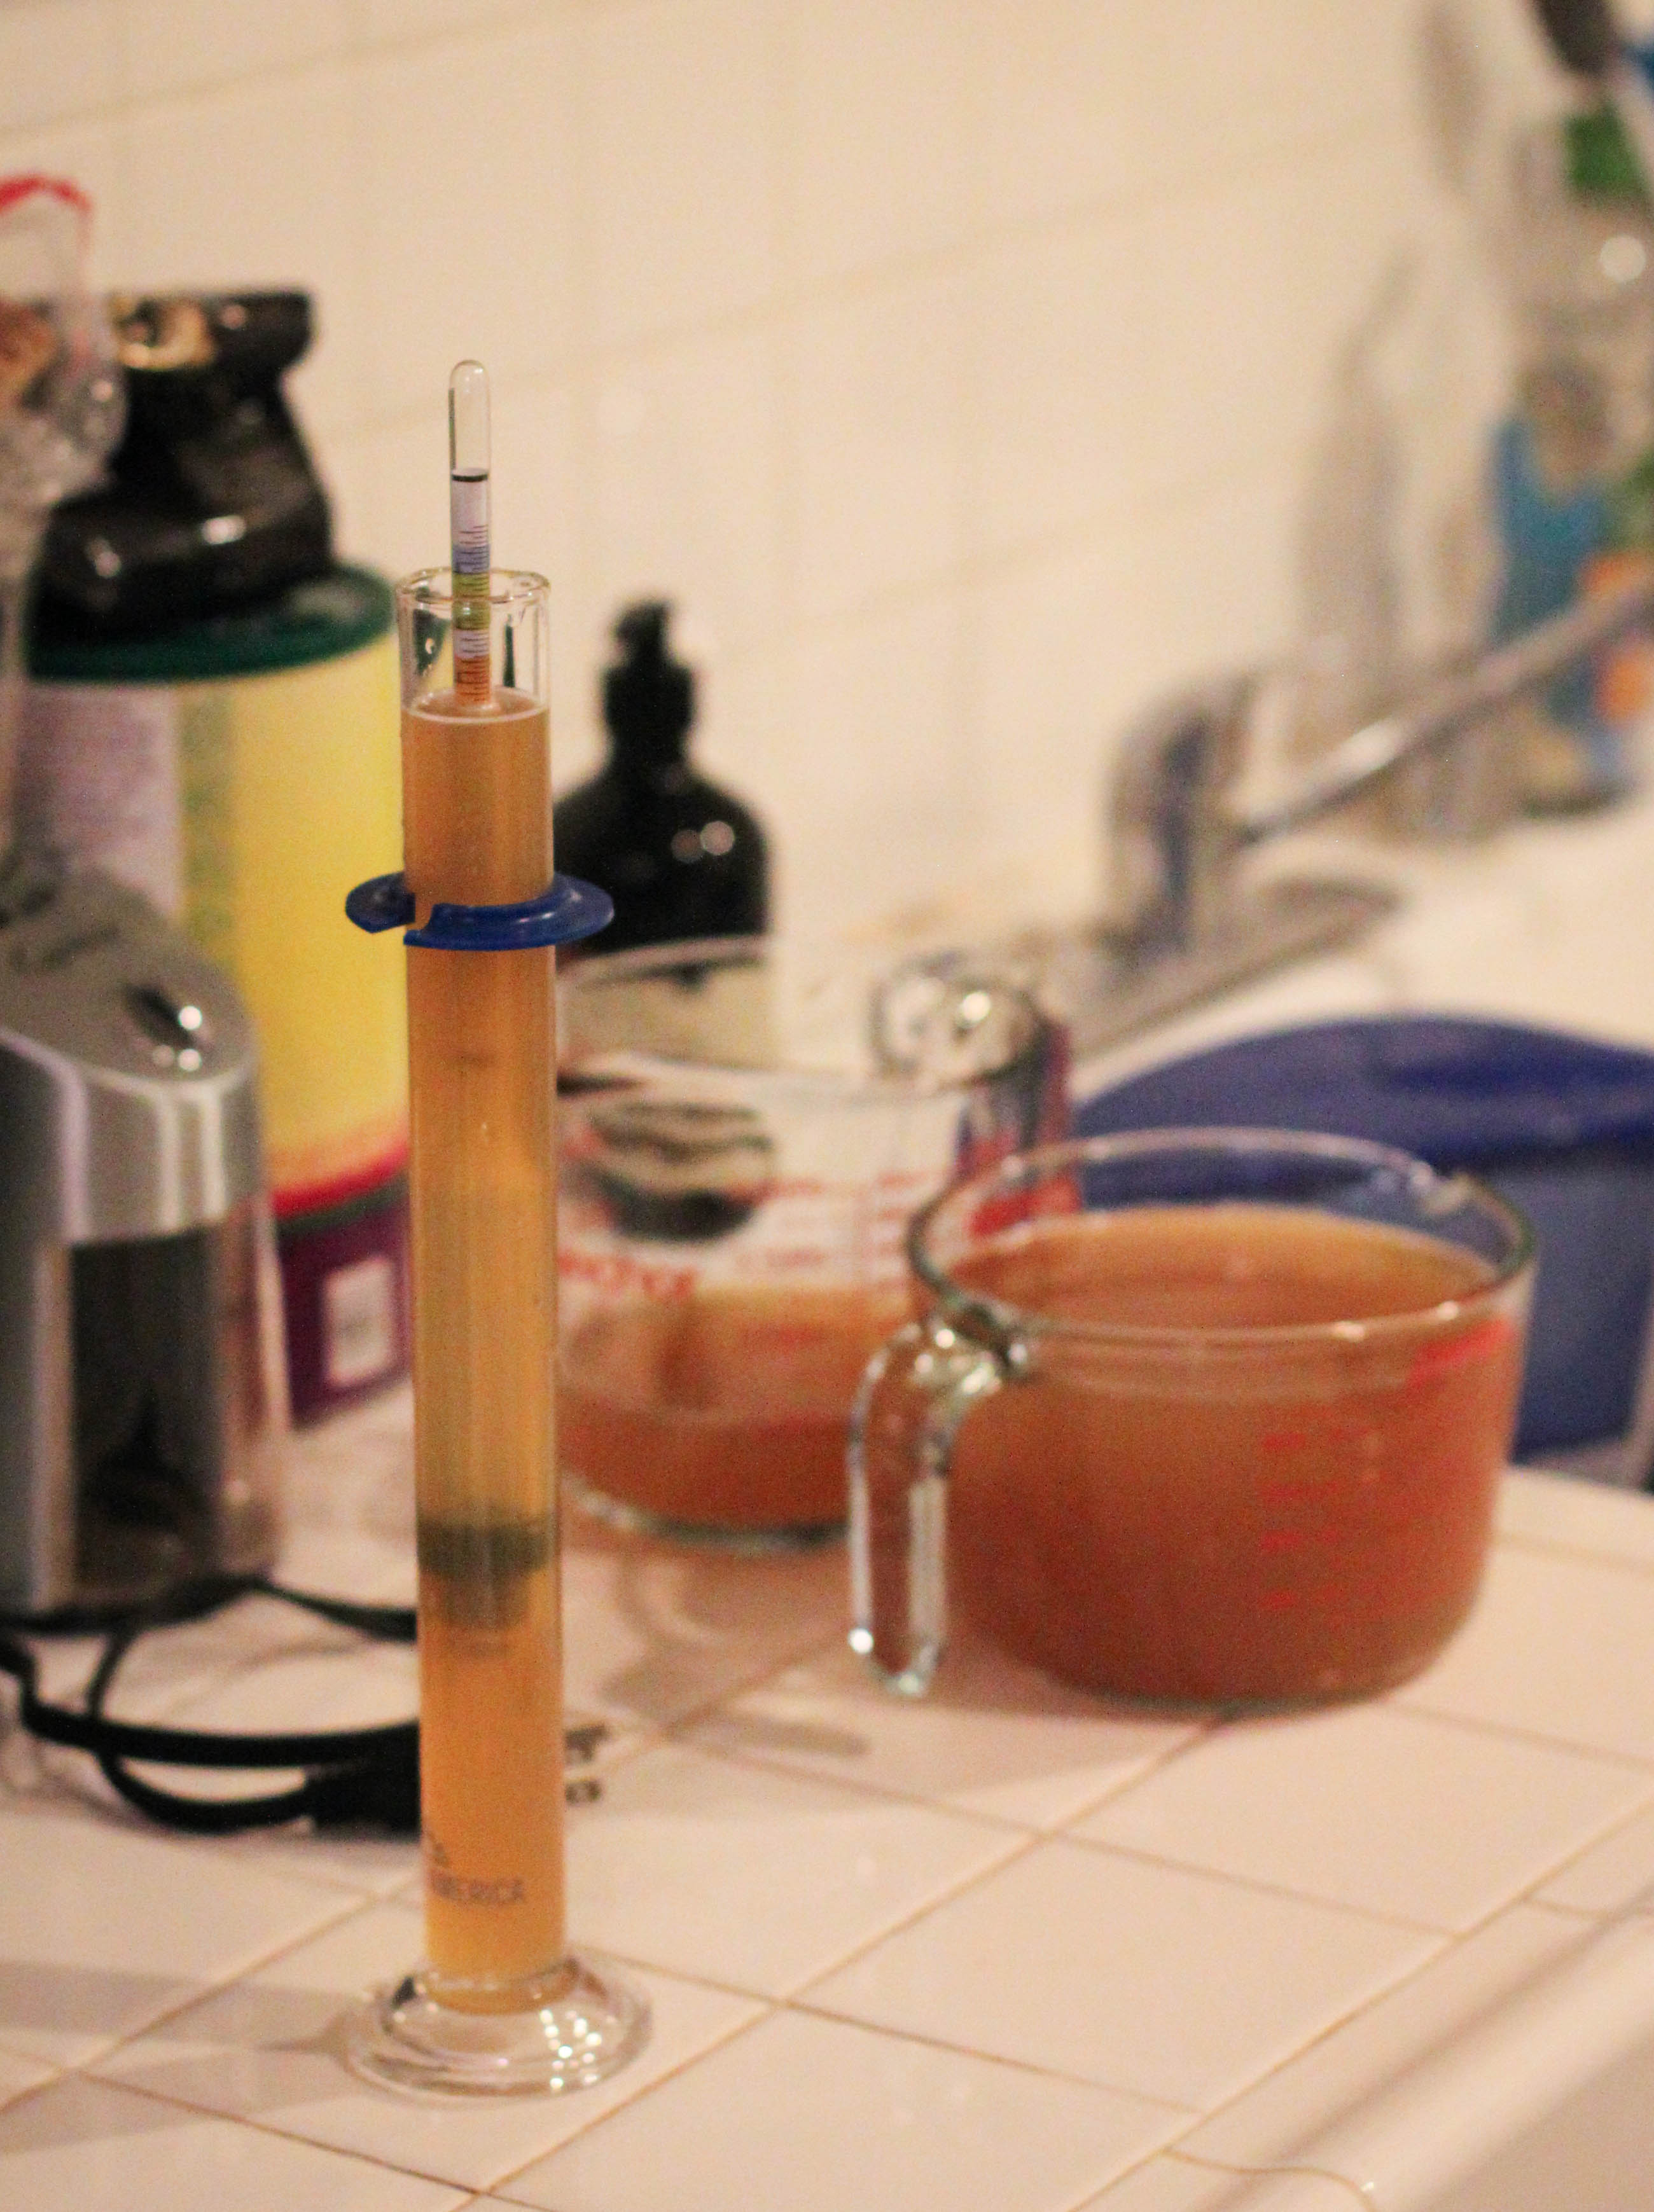
- A hydrometer so you can measure how much alcohol is produced
- An airlock to allow fermentation gases to escape
Both of these are available at homebrew suppliers, along with the yeast (not optional).
Without the hydrometer, you'll just have to trust in the process. Without the airlock, it'd be best to have a screw-on lid you can apply loosely and "burp" the jar frequently to avoid any high-pressure adventures.
Required Ingredients
- A large glass vessel for fermentation with a closing lid
- A bottle of normal apple cider
- Champagne yeast (other yeasts are cool too, and will create interesting and different flavor profiles)
Yep... that's it. We'll add some spices after fermentation, but all we need for now is sugar and yeast.
The Process
If you have a hydrometer, now's the time to measure your Original Gravity. Simply put the apple cider in your graduated cylinder or other narrow vessel and take a measurement.
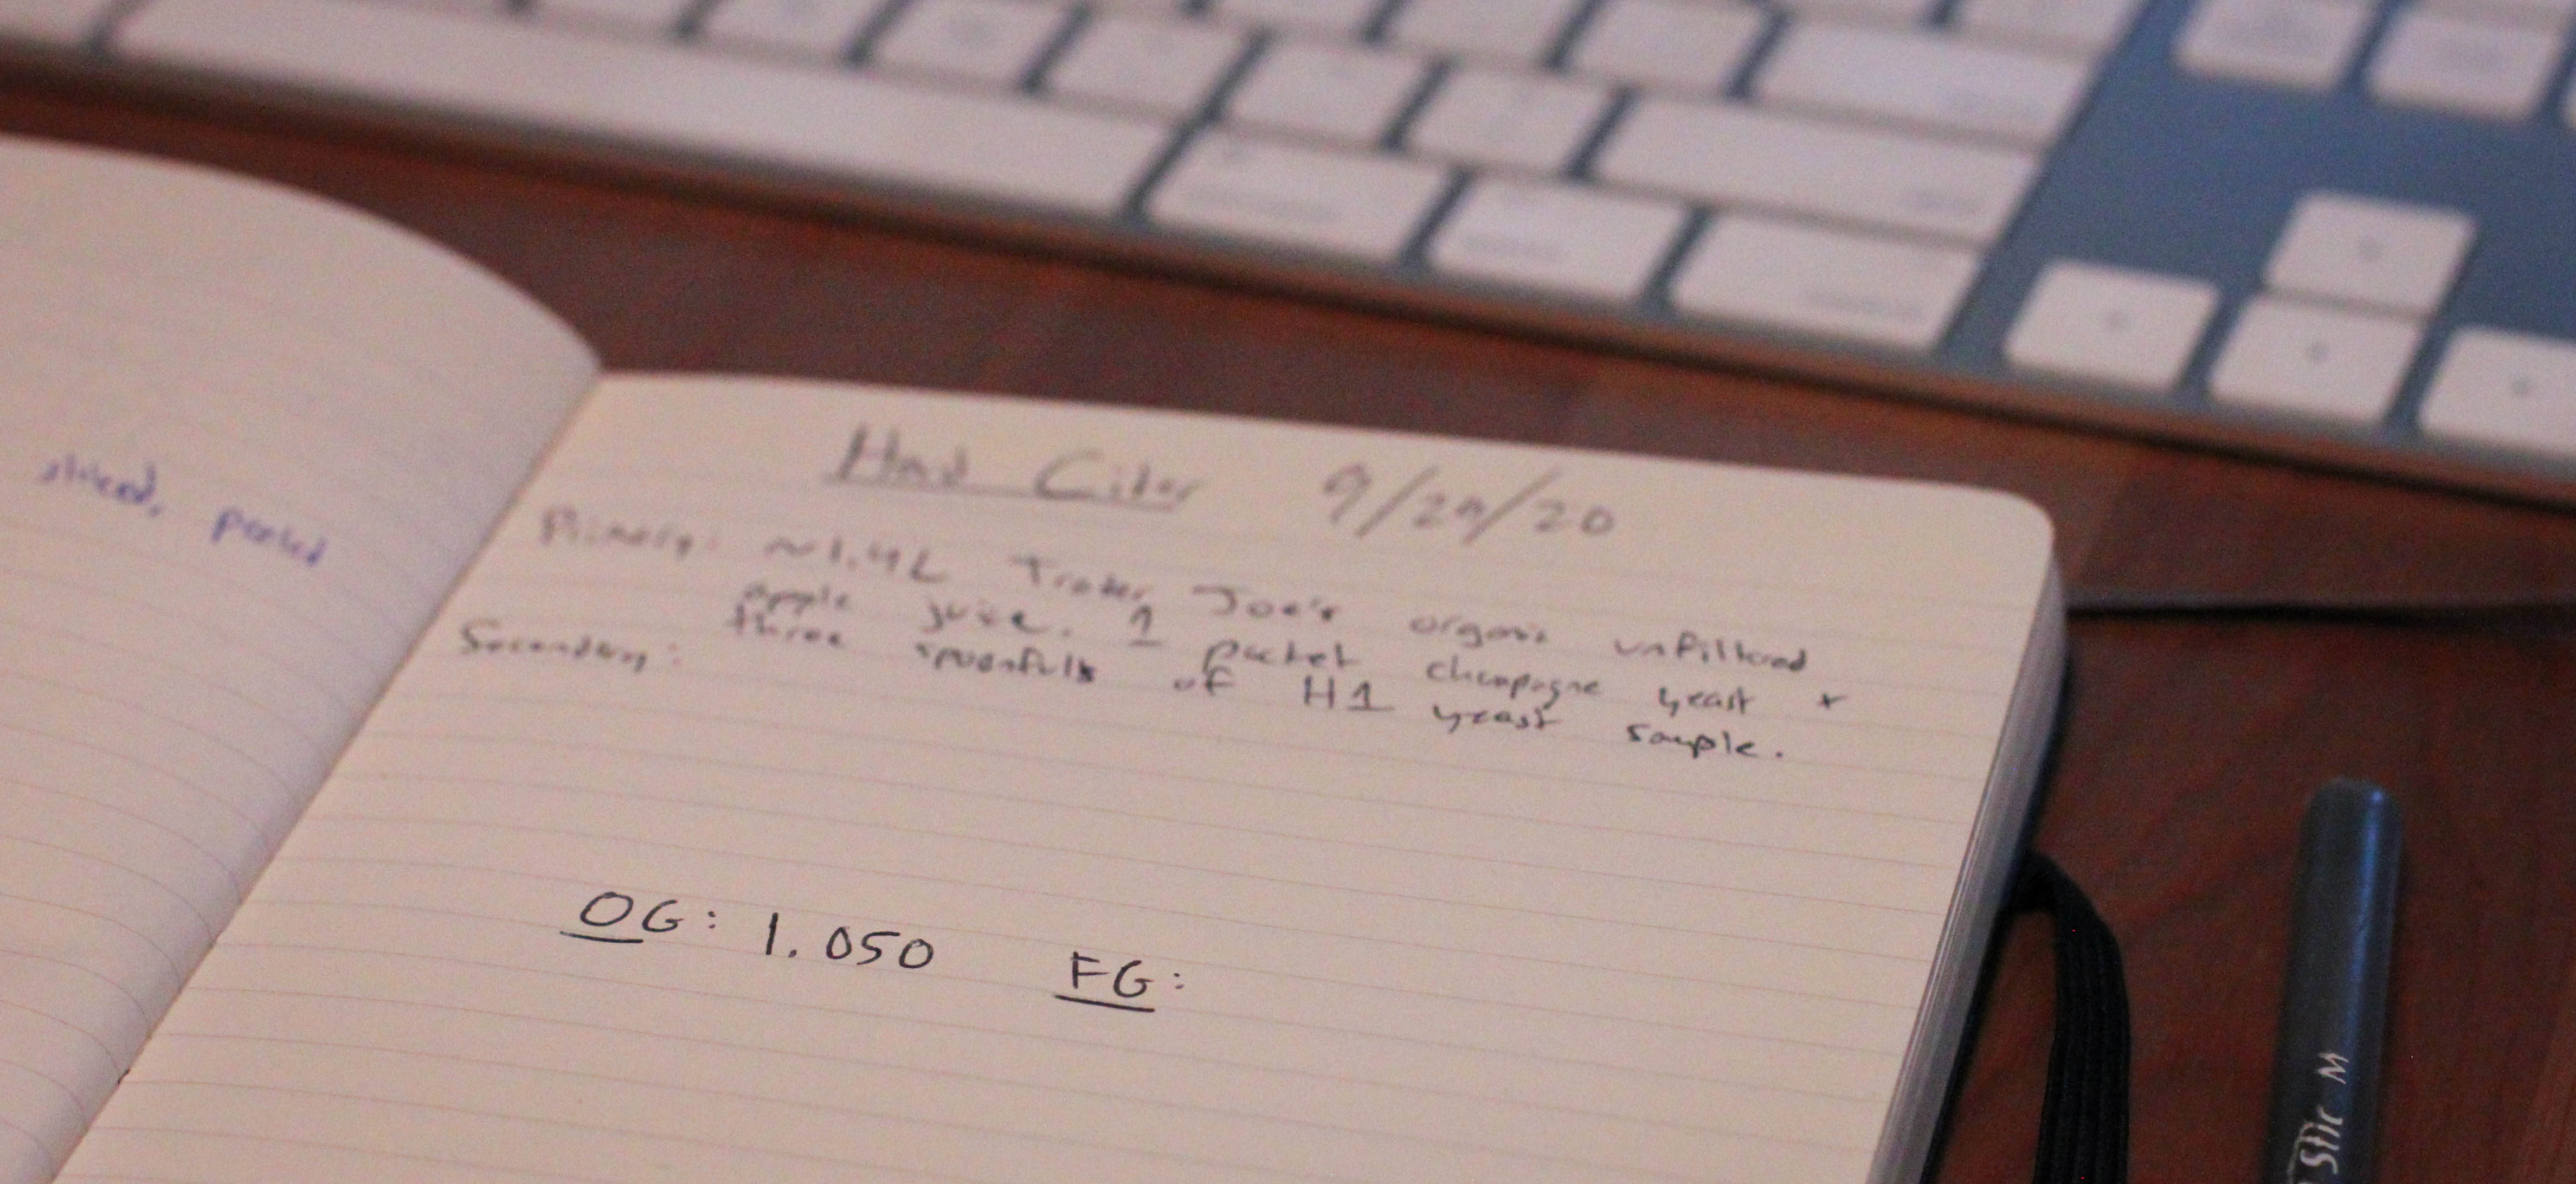
Pro tip: When brewing, it's a great idea to take detailed notes. There are so many variables involved that if you get a really good result, it'll be nearly impossible to recreate it without a detailed record.
Before your yeast is ready to work its magic on the cider, it's best to "wake it up" and let it get active in some plain old 1:1 sugar water. It should get a little foamy and look generally lively.
Once that's looking good, add the apple cider in your large fermentation vessel and "pitch" (add) the yeast.

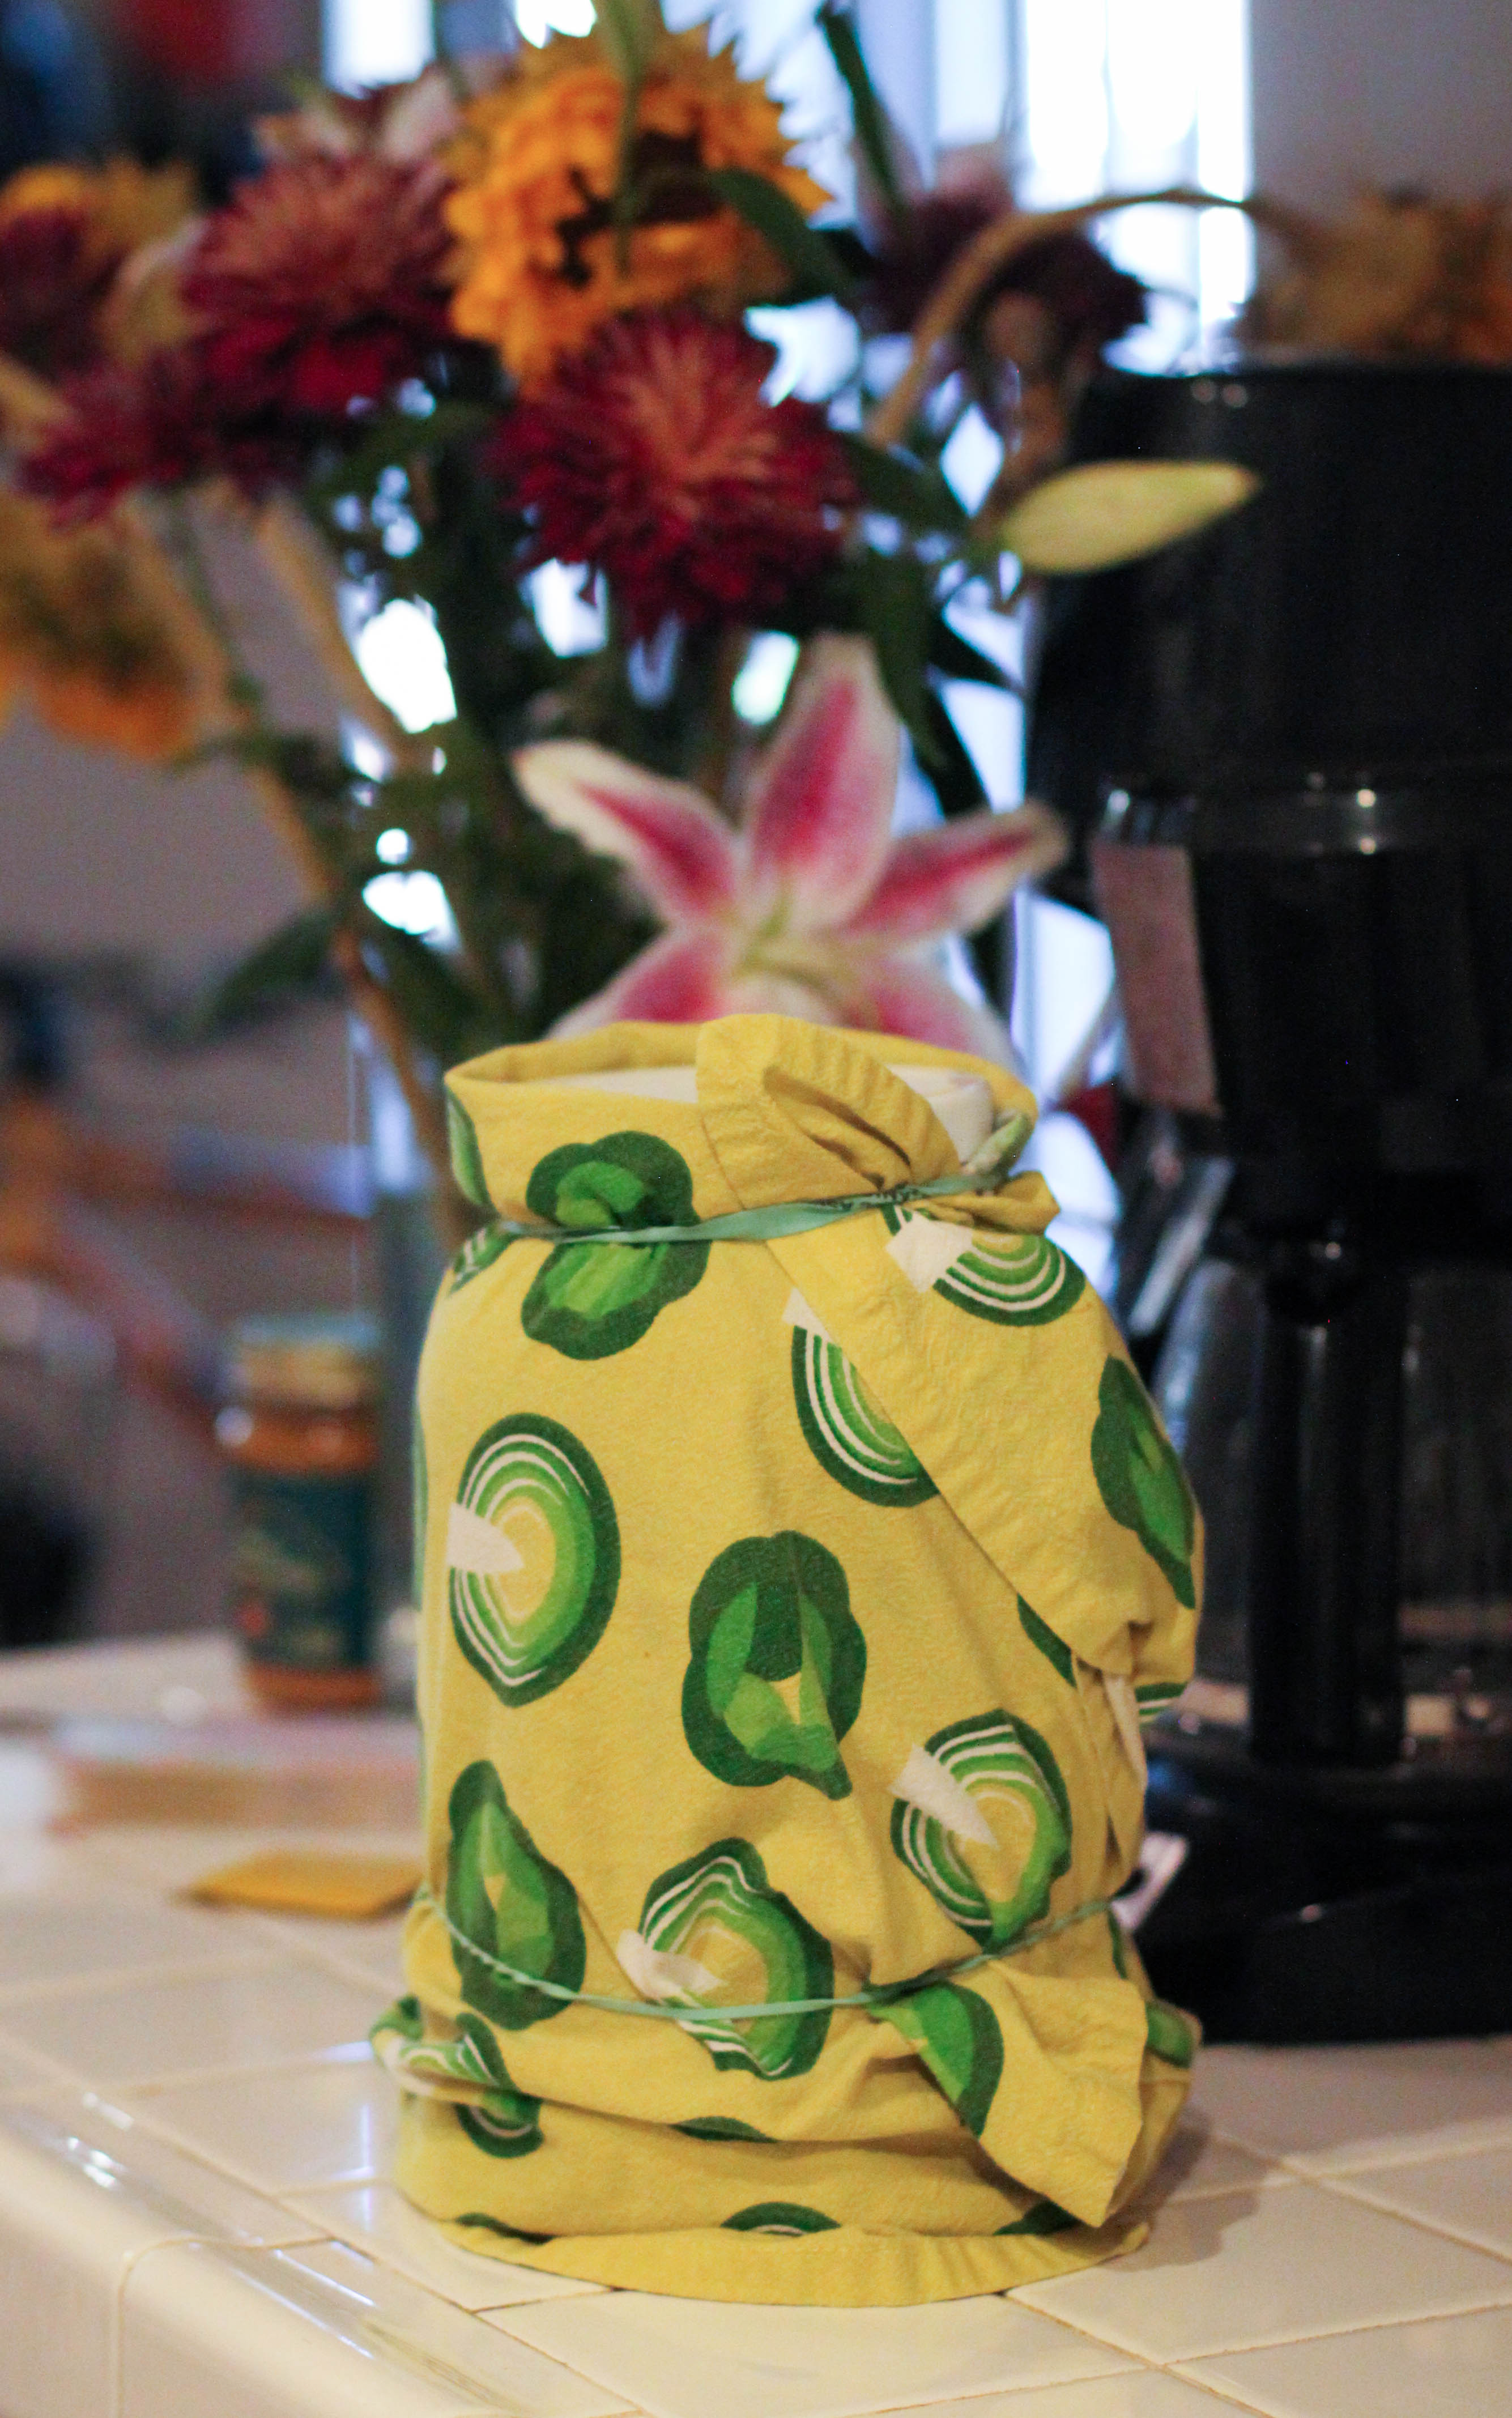
Seal the vessel and cover with a towel to keep out the light, and get ready to let your cider rest for a week or two. If you don't have an airlock, keep it somewhere you'll remember to burp it to avoid too much pressure building up!
In two weeks, we'll take out our cider, spice it, and it'll be ready to enjoy!